

| |
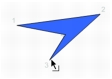
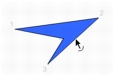
The Pen tool offers a way to draw precise straight or curved line segments. You click to create points on straight line segments, and click and drag to create points on curved line segments. You can adjust the segments by adjusting points on the line. You'll use the Pen tool to create the logo.
By default, selected curve points appear as hollow circles, and selected corner points appear as hollow squares.
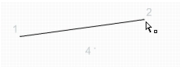
When you move the pointer over a corner point, which you can click and drag to create various angles, the pointer appears as follows:
When you move the pointer over a curved line segment (you don't have curve points in your logo), which you can click and drag to create various curved lines, the pointer appears as follows:
| |